
Easy Halloween Ghost Nails
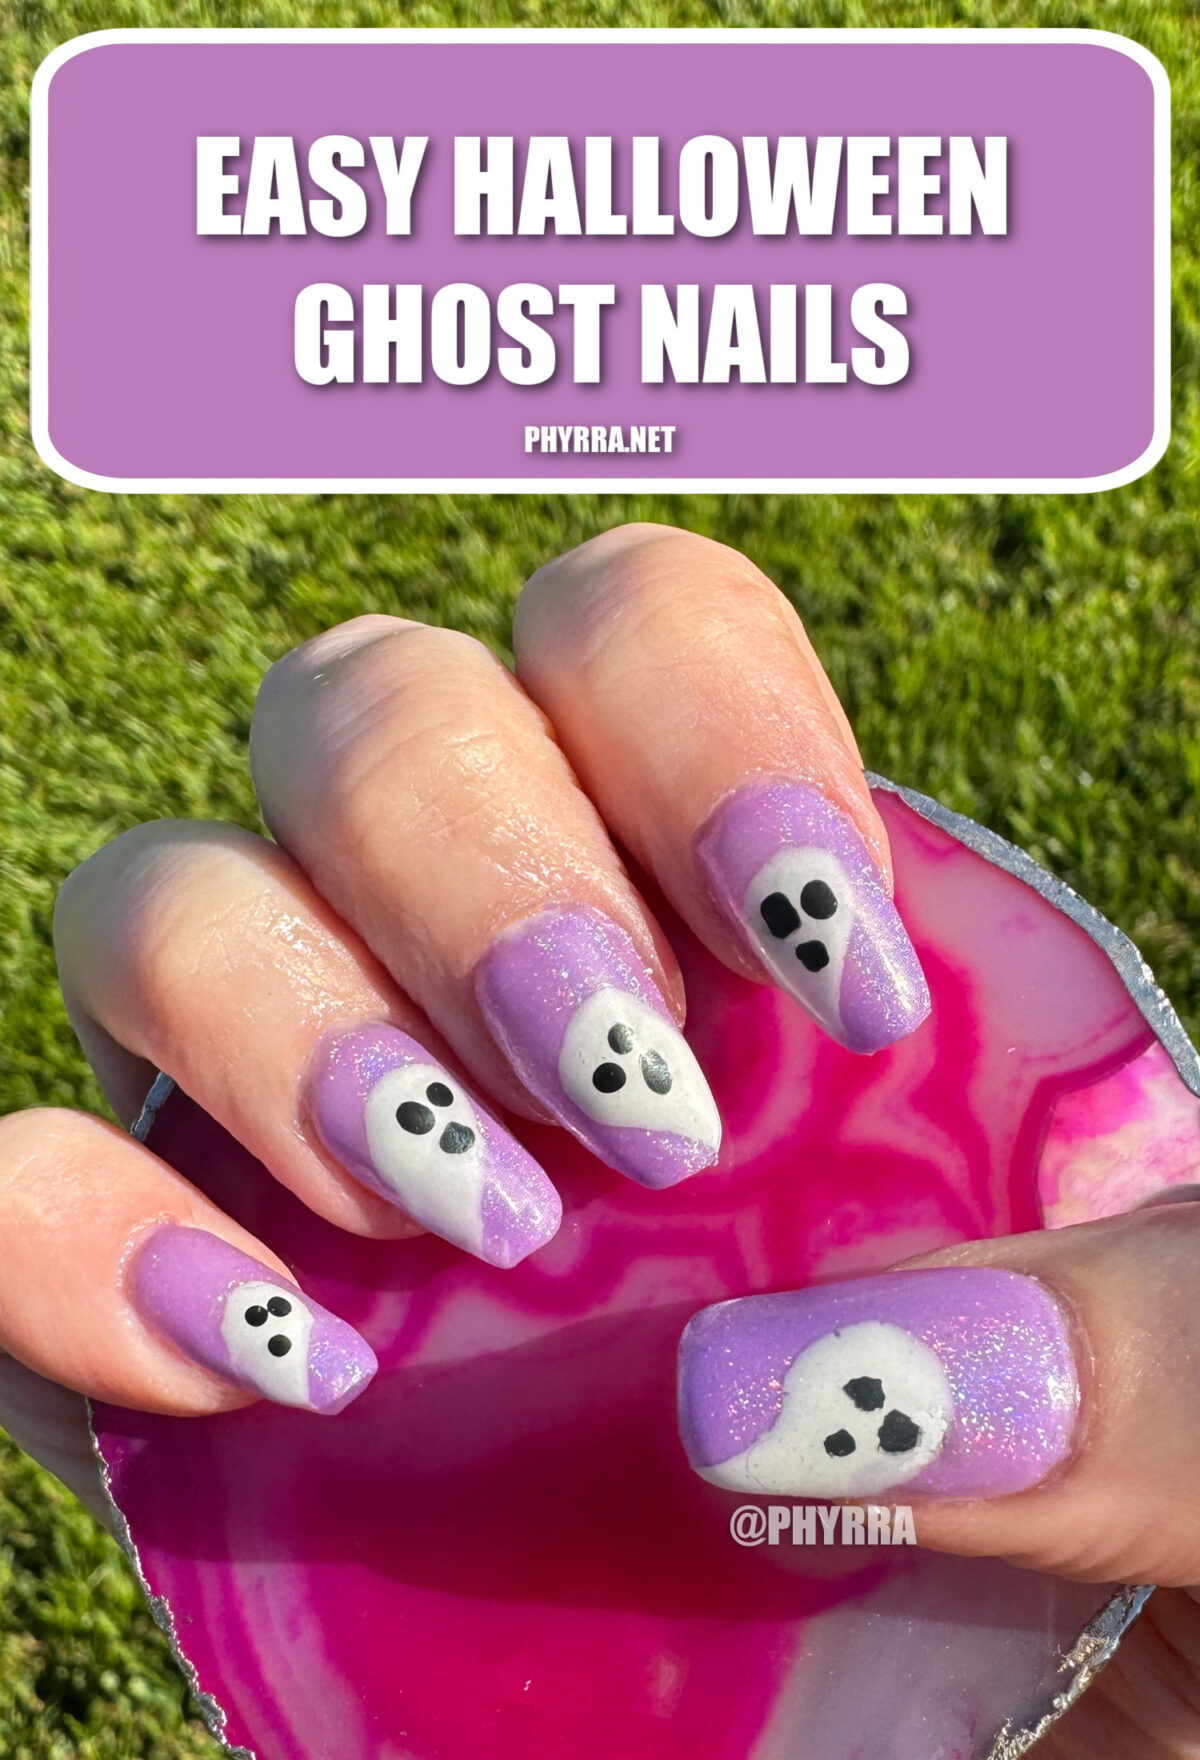
Hello, beautiful creatures! Today I’m sharing my easy Halloween Ghost Nails with you. I love DIY (do it yourself) nails at home. Getting into doing gel nail polish has helped me to have another healthy creative outlet. And that old saying about practice makes perfect? It’s true in this case! And best of all? Instead of spending $90 or more every 3 weeks on my nails, I’m saving that money!
Want to start doing your nails at home? Check out the best gel nail products for beginners!
Why Do You Use Gel Polish?
I use both gel and regular polish, but I prefer to use gel polish these days over regular polish for a few reasons. One, gel polish cures in the lamp in 30 seconds and regular polish takes a very long time to dry. I’m more likely to smudge my regular polish. Two, it’s easier for me to lock in nail art designs in gel, hence me creating these easy Halloween ghost nails. With regular polish I have to wait for the base shade to dry. If you touch it too early you ruin it. Three, I can still put regular polish on top of a gel polish base and the gel polish base will help it last longer. Four, gel overlay strengthens my regular nails. There are other reasons but these are the main ones!
My Nail Base
I prep my nails for a manicure before I do my nails. That means removing excess cuticles, removing my old manicure, buffing the nails, and prepping my nails for nail extensions. I put on UPF gloves and I make sure to remove all dust and any excess oils from the nail beds by wiping them with 70% isopropyl alcohol on lint free wipes.
How to Prep Full Coverage Nail Tips
I carefully size my full coverage nail tips against all of my nails before I apply them. Right now I’m using Painted Desert Xtra Short Coffin Tips, which are excellent but definitely not short on me! I have short nail beds so they’re fairly long. I find coffin tips are great for nail designs like the easy Halloween ghost nails I made.
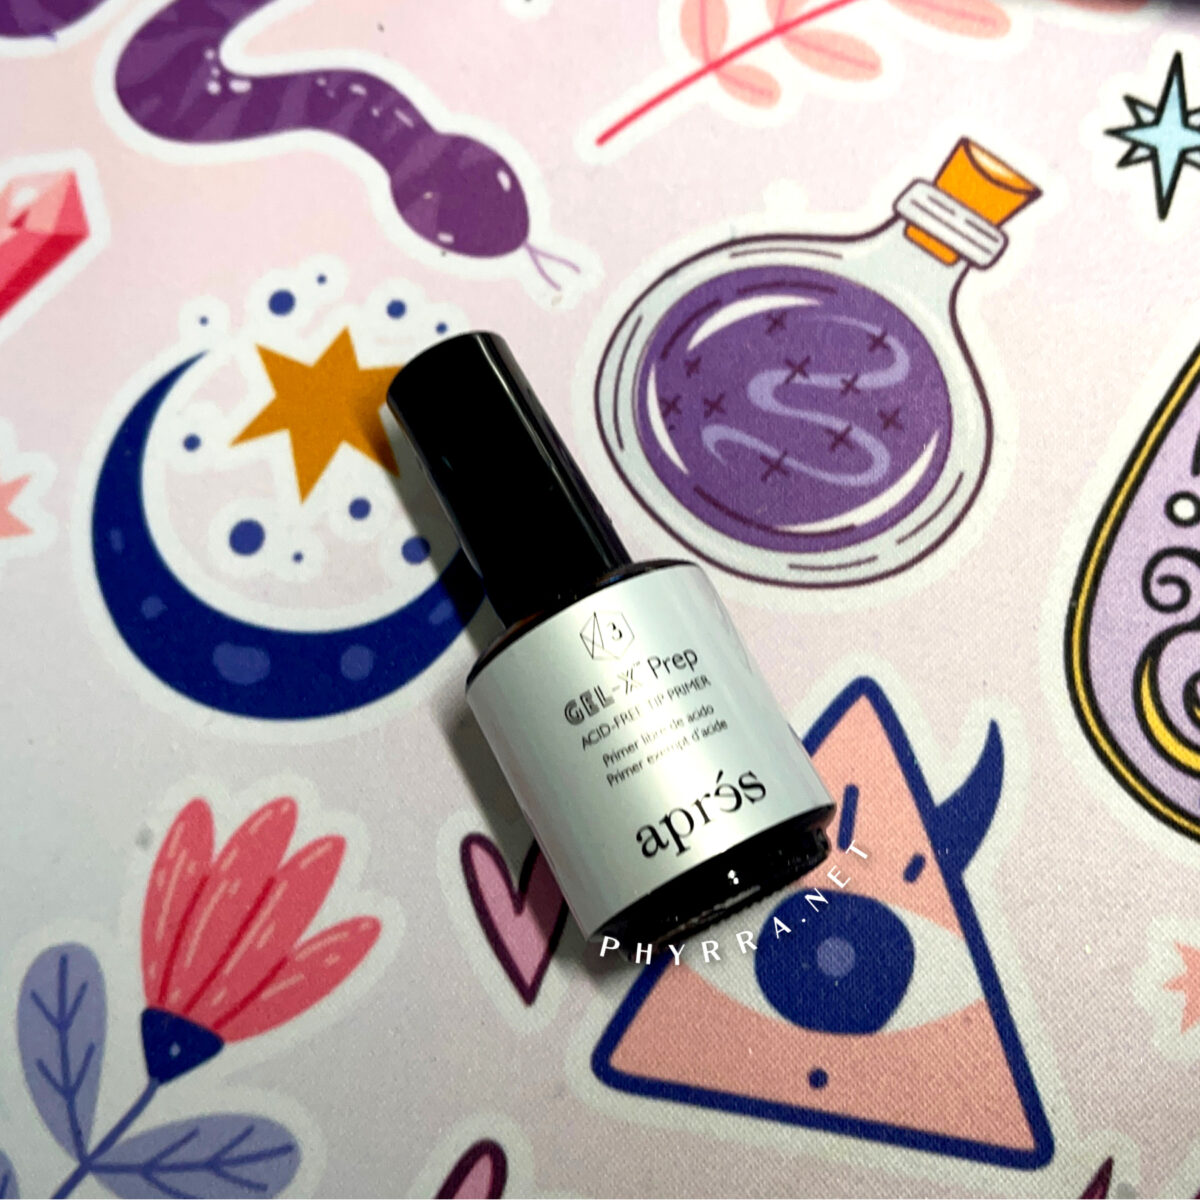
I’m having to keep my nails short right now for my post-surgery physical therapy exercises. I use the following sizes: Thumb 3, Index and Ring 9, Middle 7, and Pinky 13. To etch the inside of the full coverage nail tips I use Aprés Gel-X Prep Acid-Free Tip Primer.
How I Prep My Nails for Full Coverage Nail Tips
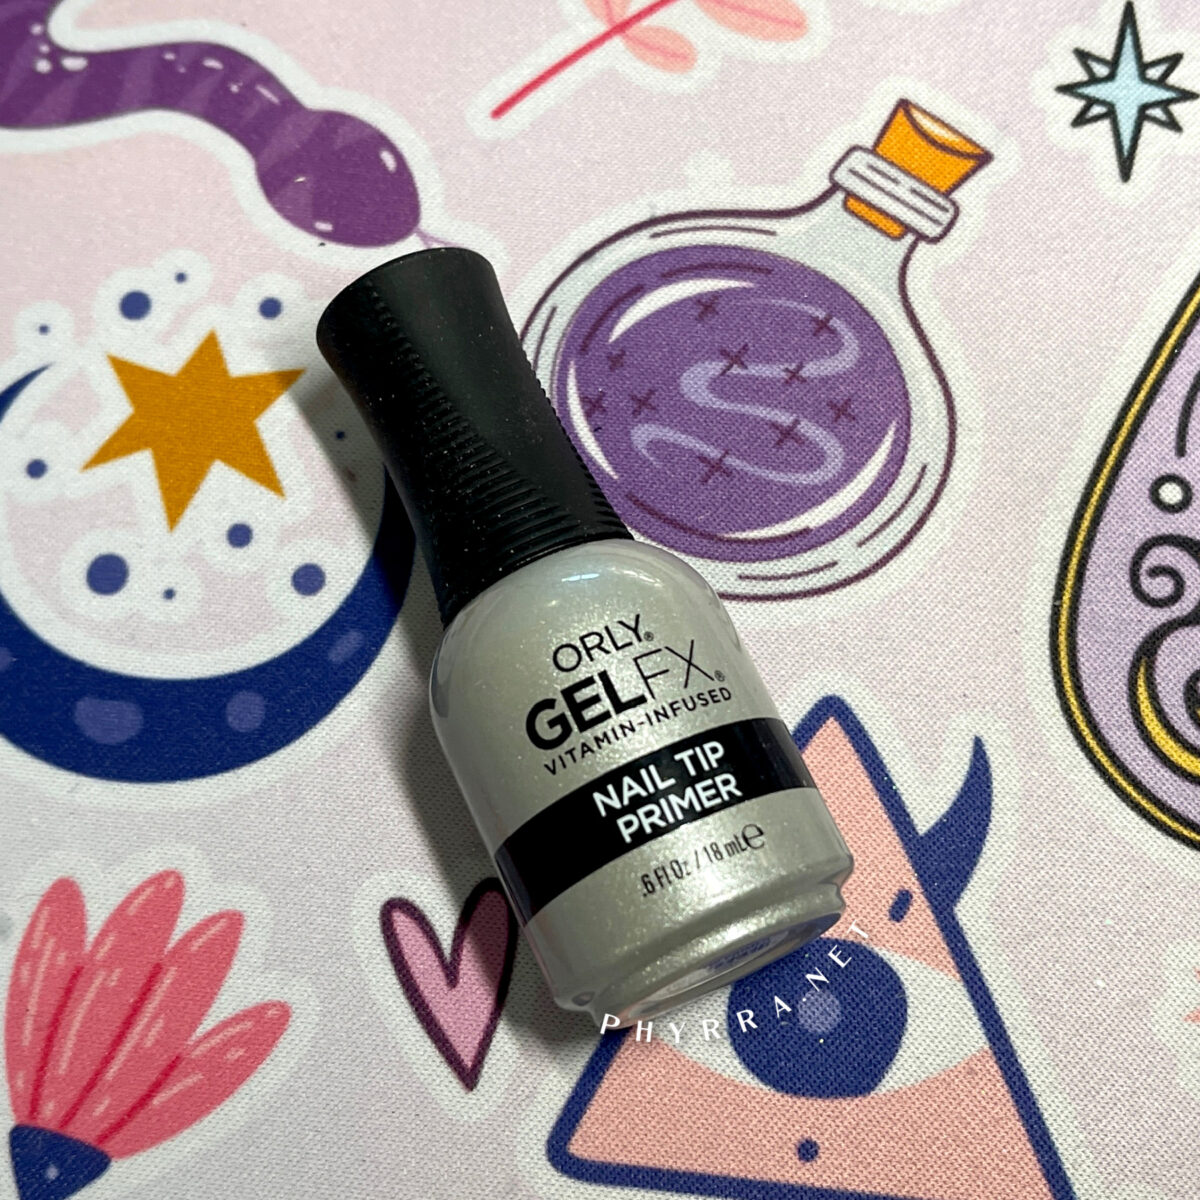
I prime my naked nail beds with Orly Nail Tip Primer and I heat up the primer for 30 seconds in my LED nail lamp. I recently had to switch to Daily Charme Nail Tip Extension Gel because Painted Desert had been out of Cactus Gelly Plus for months. I’m glad I made the switch because this is an excellent product. A thin coat of the Nail Tip Extension Gel is applied to all nails and then cured for 60 seconds under the lamp.
How I Apply My Full Coverage Tips to My Nails
I paint the Daily Charme Nail Tip Extension Gel on the back half of my full coverage tip and put a large bead of product on the back half where the cuticle line will be. Then I turn on my Painted Desert Sidewinder Flash Cure Lamp. I gently put the full coverage tip onto my nail and slowly apply pressure until the full coverage tip gel is spread out across my nail bed. Once I’m happy with the spread, I put my nail under the Flash Cure Lamp and hold it there for 20 seconds. I repeat this process for all of my nails, then I cure it under the LED nail lamp for 60 seconds.
After this is done I lightly file the sides and end of my tips. I use a cuticle ball tip with my e-file to clean up any spillage or extra gel. Then I’m ready for nail art fun!
Want to see? Watch how to apply full coverage tips!
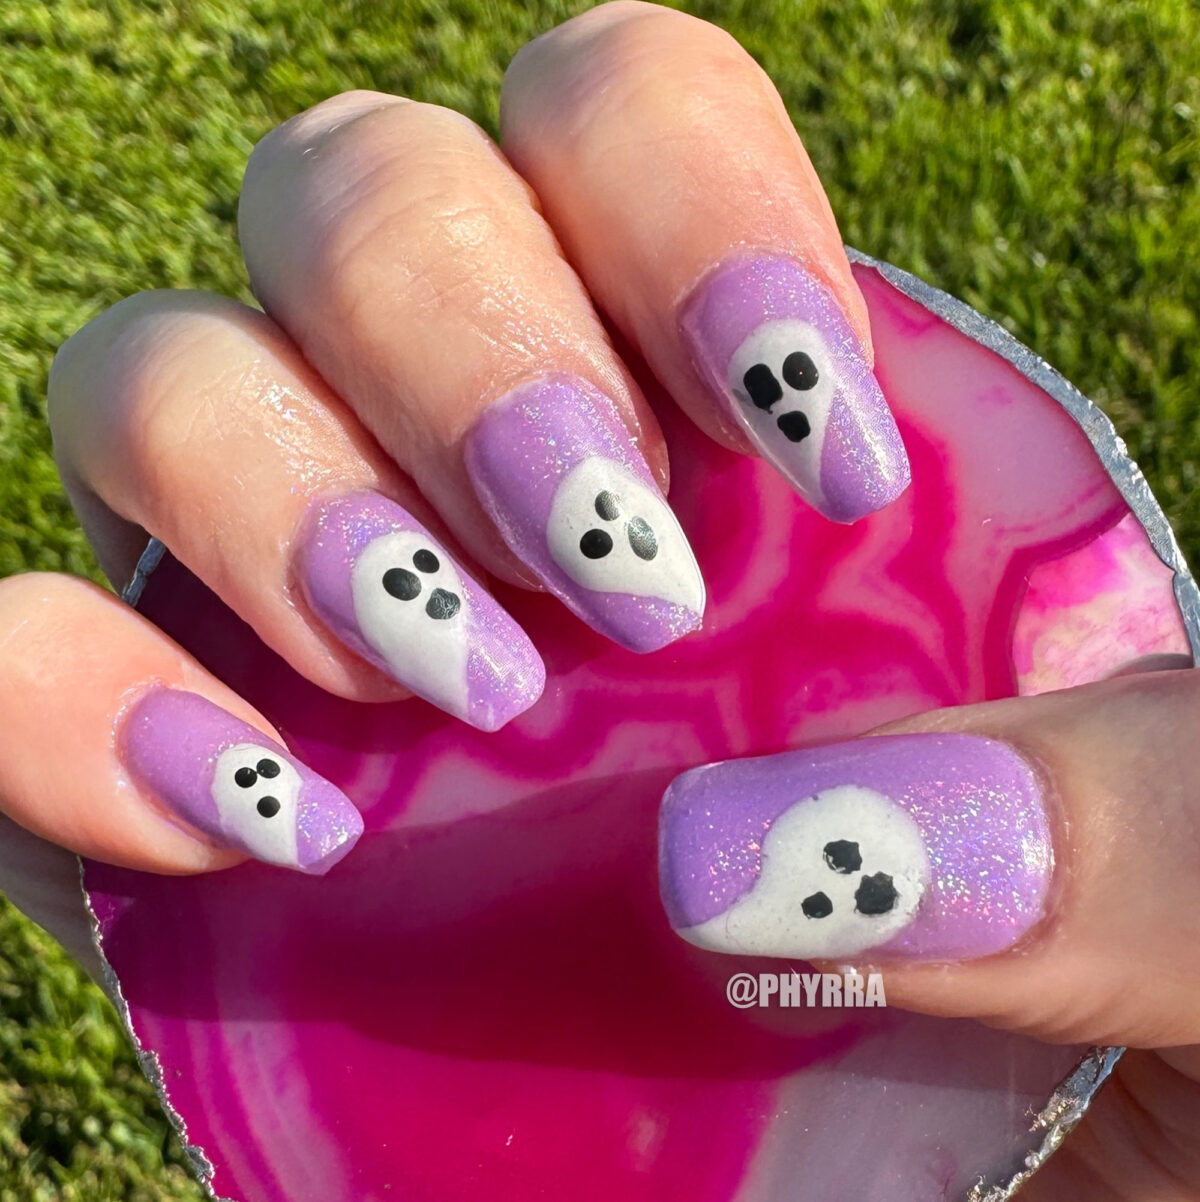
The Perfect Purple
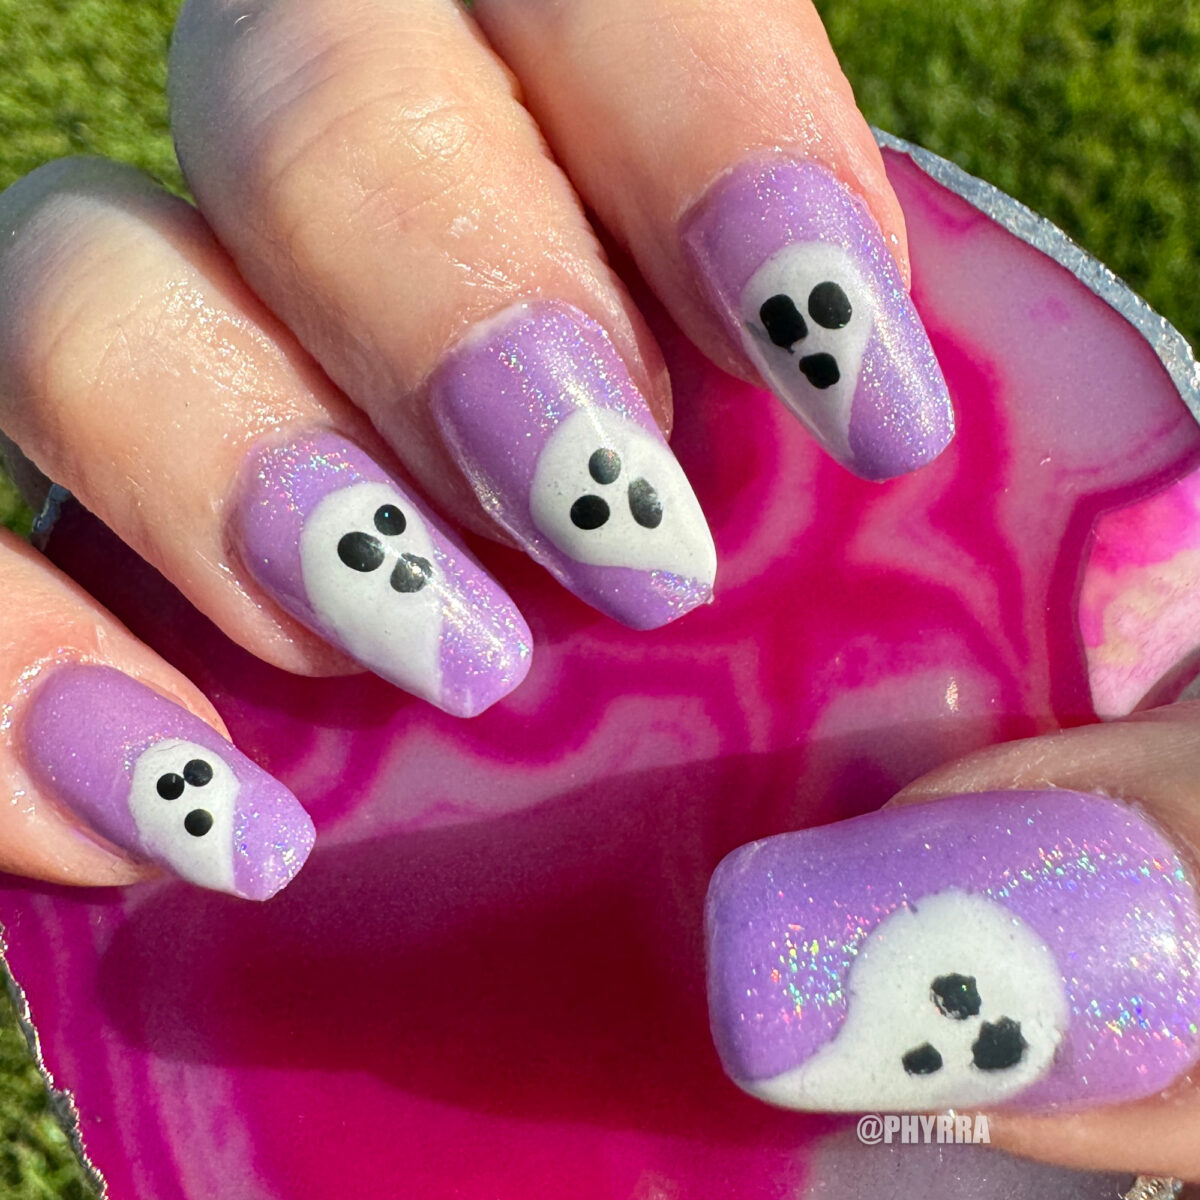
To create my easy Halloween ghost nails, I needed to find the perfect purple. Would you believe I actually have a lack of enough purple in my gel nail polish collection? I wanted a midtone purple that glowed in the dark so I custom mixed my color.
iGel Blackberry Lavender glow in the dark gel nail polish was applied to all nails as the base color coat and cured for 30 seconds. Then in a light tight glass jar, I puoured iGel Blackberry Lavender (pastel purple) and Daily Charme Grapetini (deep vivid tinted glass purple) and mixed them together to create a deeper hue. I then applied a thin layer of this mixture and cured for 30 seconds.
Magic Holo Chrome
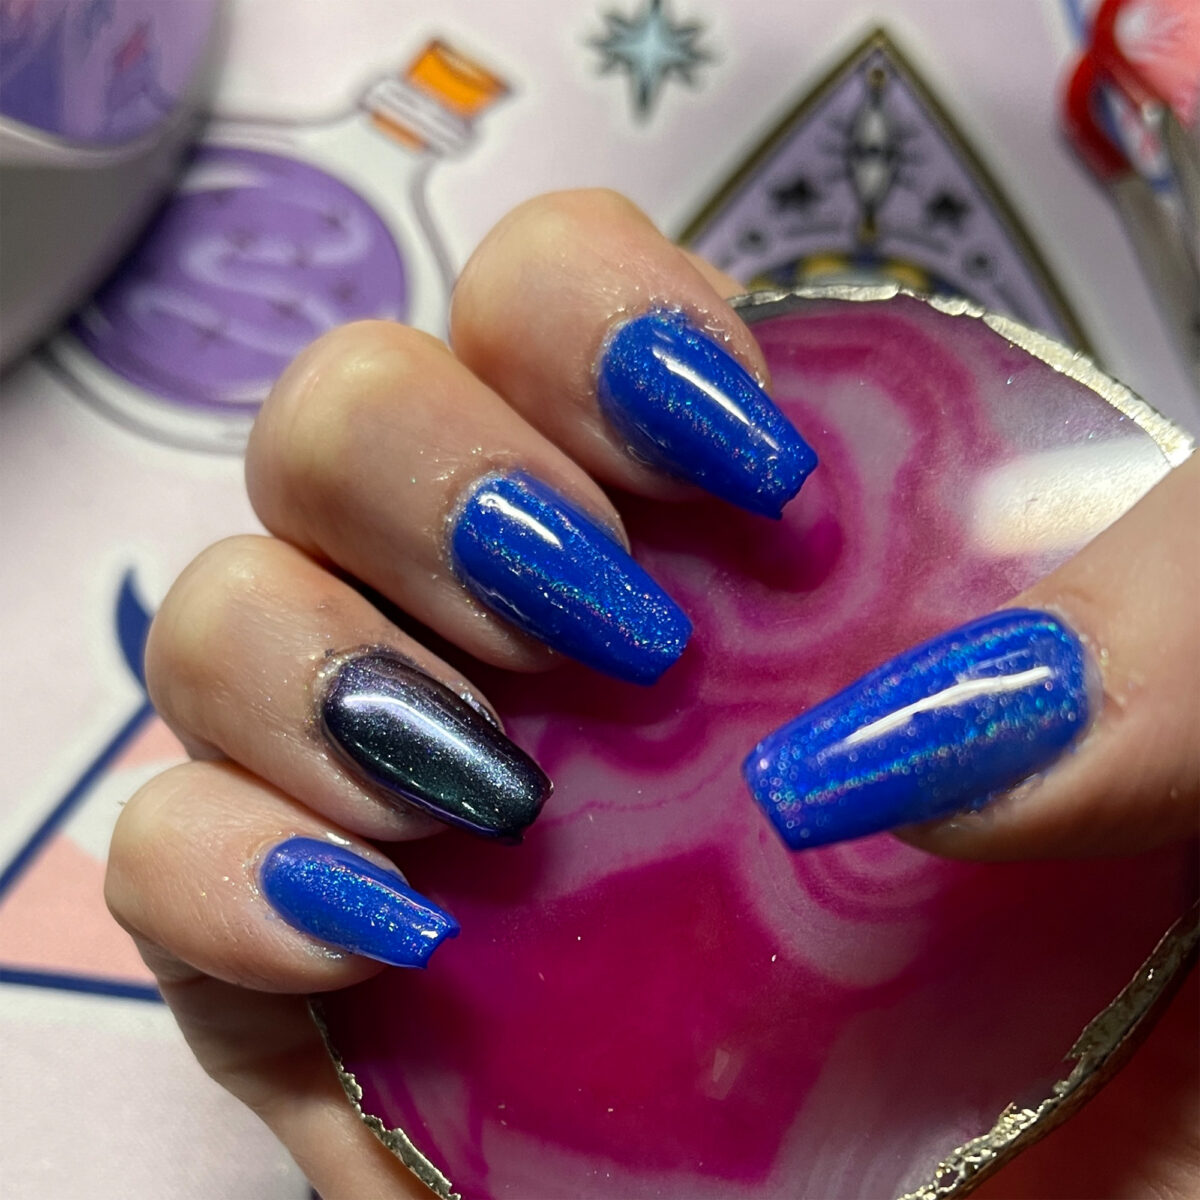
Glazed donut nails have been all the rage and the easiest way to to achieve them is by using the Daily Charme Magic White Chrome. However, I’m really into the Daily Charme Magic Holo Chrome! It gives a beautiful sheer transparent rainbow holographic shine, elevating the glazed donut look to a new level! I included a photo above of Daily Charme Jawbreaker (intense blue) with Magic Holo Chrome on top and no other design. I adore the rainbow iridescence.
I apply a thin layer of Daily Charme Chrome Gel and cure for 60 seconds. It’s no wipe, so after it’s cured, I take an eyeshadow sponge and buff Magic Holo Chrome onto each of the nails. This leaves the purple color with lovely holo shine.
Lovely Ghosts
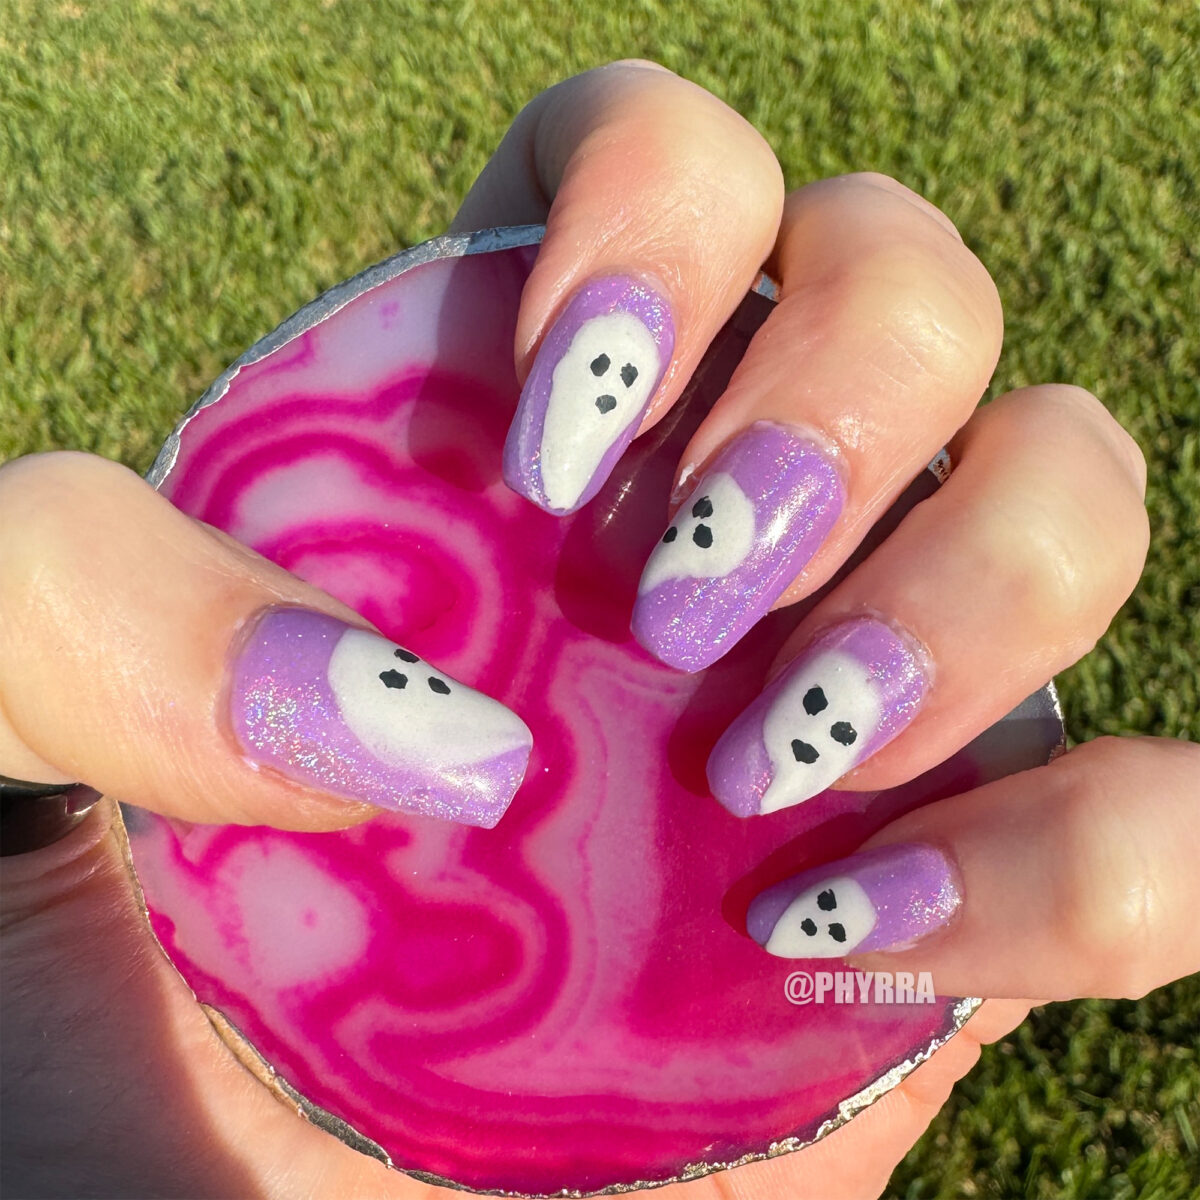
I mixed two colors together to create my ghosts, but you don’t need to do that and I wouldn’t do it again if I do these nails again. Instead, just use this amazing glow in the dark white, Beetles Screaming Soul. I mixed Screaming Soul with Daily Charme Unikitty and you couldn’t see the magnetic at all. Next time it goes on top. I used a gel art brush to create my ghosts. Create an S shape with your art brush and then filling it in to create the ghosts for the easy Halloween Ghost nails.
I loosely followed this helpful easy Halloween Ghost mani tutorial from the Daily Charme instagram! I highly recommend following them if you want easy DIY nail tutorials!
To finish the ghosts, I highly recommend using a dotting tool. I tried both the Madam Glam Black acrylic art pen and Madam Glam Perfect Black gel polish with a dotting tool, and the dotting tool gave the best consistent results, even for my non-dominant hand.
To seal my art design in, I use a coat of Daily Charme 5-in-1 Strengthening Gel. It’s helpful with glitters and other types of nail art too! I finished everything with two coats of Daily Charme Diamond Shine Top Coat.
See my nails in glow in the dark and in motion!
Final Thoughts
You can create so many different easy Halloween manicures with gel polish, an art brush, or even stickers! Step out of your comfort zone and get creative! What do you think of my easy Halloween ghost nails? Would you wear them? What sort of nail art do you do?
My nail art picks are Blood splatter, and black and orange pattern nails.